


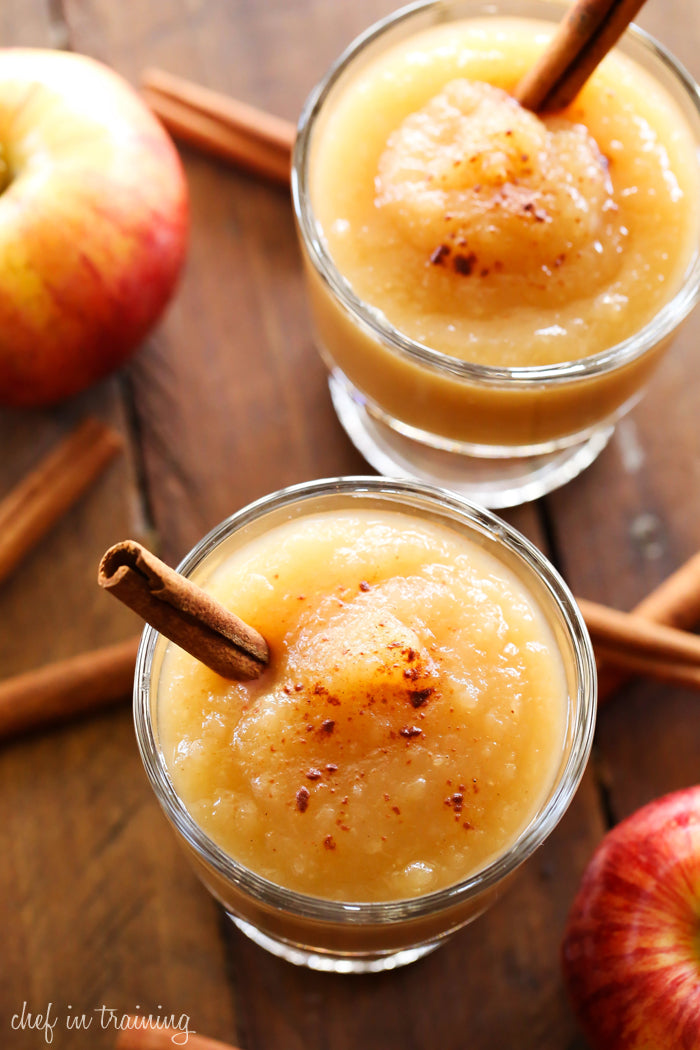
Sweet Homemade Applesauce
There is no better time of year than now to make your very own homemade applesauce - it's truly an easy, enjoyable recipe that will fill your home with the lovely smell of fall! Who can resist the rich scent of molasses like sweet brown sugar and cinnamon? A healthy, delicious snack perfect for any time of day, I trust this will become a regular recipe you’ll turn to in your cookbooks.
Sweet Homemade Applesauce
Yield: 3.5-4 Litres
Ingredients:
- 12 lbs (5.5 kg) Golden Delicious apples, washed, peeled, cored, sliced
- 3/4th cup water
- ¼ cup brown sugar
- ¼ tsp. cinnamon
- Pinch of nutmeg or allspice (optional)
- 5 tbsp. lemon juice
- Zest of 2 lemons
Tips: If you cannot get your hands on Golden Delicious apples you can also use other naturally sweet varieties such as Fuji, Ambrosia and Rome. If you prefer a tart applesauce substitute the Golden Delicious with Granny Smith, Sunrise or Jonathon varietals. You can also use Gala, Braeburn and Pink Lady apples for a medium balanced tart and sweet combination.
Method:
-
Set up a medium cutting board, peeler, small sieve, microplane, knife, bowl for compost scraps and 30 cm Le Creuset dutch oven on your counter top.
-
Zest two lemons into the dutch oven. Next add the lemon juice to the pot, discard any seeds.
-
Start peeling the apples one at a time ensuring you core and slice each before moving on to peeling the next apple. Place the sliced apple into the dutch oven with the lemon juice. Stir to coat the apple slices with the acidic lemon. This will prevent the apples from oxidizing and turning a brownish colour. Continue until all apples are added to the pot.
-
Next add water, brown sugar and cinnamon. Stir to combine.
-
Place the dutch oven on the stove over medium high heat, cover and let come to a boil. Once boiling turn heat down to low and let cook for 30-40 minutes. Stirring often to help the apples break apart.
-
Apple sauce is finished when the desired consistency is reached. I enjoy my applesauce smooth so I stir it until I achieve that desired consistency.
-
Store in fridge in glass containers.
- Enjoy!
Want to jar this recipe so you can leave it out at room temperature, and enjoy it throughout the coming year? Follow the instructions below!
To Jar and Preserve Applesauce:
-
Before preparing your apples you will need to ensure your jars are ready. Wash 4 – 1 L glass preserving jars and new lids in hot soapy water. Rinse well. Next you need to heat the jars. Add water to jars and place in large pot lined with a rack (water canner). Fill pot with water ensuring jars are fully covered. Bring to a simmer (180°F/82°C). Boiling jars is not necessary.
-
Keep screw brands aside on a clean cloth ready for use. You want these to be room temperature so you can easily handle them when needed.
-
However, the flat round portion of the lids need to be sterilized. In a small saucepan cover flat lids with water and bring to a simmer (180°F/82°C). Keep warm until needed.
-
Prepare recipe above. Once applesauce is ready remove one jar at a time from the water canner, emptying the water back into the pot. Use a jar funnel and ladle in hot applesauce leaving ½ inch headspace. Wipe rim. Centre flat round lid on jar. Tighten screw lid piece on until resistance is met, tighten to fingertip tight.
-
Place sealed jars in water canner and adjust water to ensure they are completely covered, place canner lid on. Bring to a boil and process for 20 minutes. Remove lid, turn off heat and let sit for 5 minutes. Remove jars with jar tongs, cool and store. After 24 hours of cooling check that lids have sealed. A proper sealed lid will be concave (curving downward) and will have no movement when pressed. If seals have not correctly sealed, do not worry, simply store that jar in the refrigerator and use within a week. Correctly processed jars will store in a cool dry place for up to 1 year.
*Heat processing the filled jars is not optional but mandatory. Failure to boil and process jars for recommended time can result in food spoilage, seal failure, and health risks. Heat processing destroys microorganisms and creates a seal in the jar. This is an essential step in food processing.*
Leave a comment